
Most homeowners never see what’s happening beneath their house until the damage becomes impossible to ignore.
What starts as excess humidity, condensation, poor drainage, or a small leak inside a crawl space can quietly lead to mold growth, wood rot, insulation failure, structural damage, and unhealthy indoor air circulating throughout the home. By the time symptoms appear upstairs like; musty odors, allergy flare-ups, warped flooring, or rising humidity, the crawl space below has often been deteriorating for months or even years.
That’s where crawl space encapsulation comes in.
When done correctly, encapsulation transforms a damp, vented crawl space into a sealed, controlled environment designed to block moisture, stabilize humidity, improve energy efficiency, and reduce the conditions mold needs to survive. But most homeowners never get to see what the actual process looks like beneath the surface or understand why so many encapsulation systems fail prematurely.
In this guide, we’ll walk step-by-step through the complete crawl space encapsulation process, from inspection and drainage correction to mold remediation, vapor barrier installation, air sealing, insulation, and humidity control, so you can understand what separates a real long-term solution from a temporary cover-up.
Schedule A Professional Crawl Space Inspection Before Moisture Damage Spreads Further!
What Crawl Space Encapsulation Actually Is (And the Confusion That Costs Homeowners Thousands)
Crawl space encapsulation is the process of converting a vented, dirt-floored crawl space into a sealed, conditioned environment that’s part of your home’s thermal and moisture envelope. Done properly, it stops moisture at the source, eliminates mold’s growth conditions, and brings your floor system into the same controlled climate as the rest of your house.
Here’s where homeowners get burned: a sheet of 6-mil plastic on the dirt is not encapsulation. That’s a vapor retarder, and on its own it solves almost nothing. True encapsulation is a system with five components working together. Miss any one of them and the whole thing fails, sometimes within a single season.
The three approaches you’ll hear about, from worst to best:
Open Vented Crawlspace
Open vented crawl space is the original 1950s code requirement, based on the now-debunked theory that outside air would dry out the space. In humid climates it does the opposite — warm outside air hits cool surfaces underneath your home and condenses, soaking your joists and insulation.
Vapor Barrier Installation
Vapor barrier only lays plastic on the dirt floor. It blocks ground moisture from evaporating upward, which helps, but it ignores wall moisture, vent air, plumbing penetrations, and humidity already in the space. It's a partial fix sold at a full-fix price.
Full Encapsulation & Sealing
Full encapsulation seals the floor, walls, and rim joists with a heavy-duty liner; closes vents and air leaks; adds insulation; controls humidity with a dedicated dehumidifier; and integrates drainage if water intrusion is a factor. This is the only approach that produces a durable, dry, conditioned space.
The Warning Signs You're Past Due
Crawl space problems don’t start as emergencies—they escalate into them. What makes them dangerous is how quietly they build: moisture, air quality issues, and structural stress all compound behind the scenes. By the time something looks “wrong,” the damage has usually been active for months. Recognizing early vs. advanced warning signs is the difference between a controlled fix and a full remediation job.
Early Signs You Should Book an Inspection Now
These are your warning signals—the stage where intervention is fastest, least invasive, and most cost-effective.
- Musty or Earthy Odors Indoors
A persistent damp smell often means moisture is accumulating below your home, creating the perfect environment for microbial growth before it’s visible.
- Allergy Symptoms That Worsen Inside
If sneezing, coughing, or sinus irritation increases at home, airborne mold spores or elevated humidity levels may be circulating through your HVAC system.
- Hardwood Floors Cupping or Buckling
Wood reacts to moisture. When crawl space humidity rises, flooring absorbs it from below, leading to warping and permanent damage if not addressed.
- Condensation on Ductwork
Visible moisture on ducts signals a humidity imbalance. Over time, this can lead to rust, mold growth, and reduced HVAC efficiency.
- High Indoor Humidity Readings
If your thermostat consistently shows elevated humidity, your crawl space is likely contributing excess moisture into your living environment.
- Unexpected Spikes in Energy Bills
Moist air is harder to heat and cool. When your system works overtime to compensate, energy costs climb without an obvious explanation.
Why Acting Early Matters
Moisture damage is not linear—it accelerates. Wet wood loses load-bearing strength over time, mold colonies expand rapidly under stable conditions, and saturated insulation amplifies rather than mitigates the issue. A delay of even a few months can significantly increase both the scope and cost of repairs.
Phase One: Diagnose Before You Do Anything Else
A failed encapsulation almost always traces back to a skipped or rushed inspection. You cannot seal a crawl space correctly until you know exactly what’s happening inside it, and that requires more than a flashlight check.
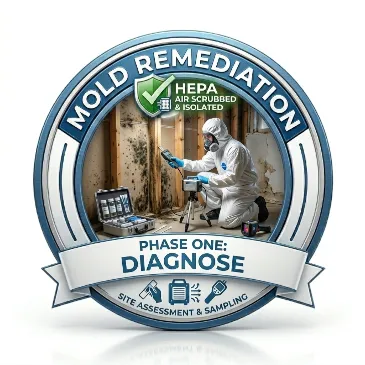
Step 1: The Professional Inspection and Moisture Diagnosis
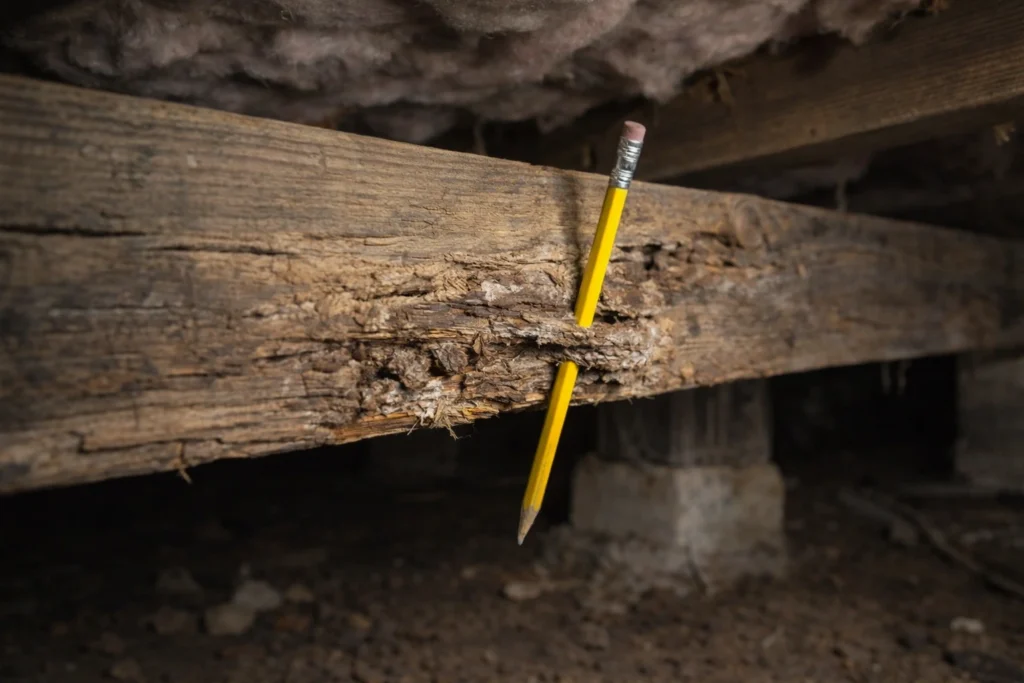
A proper crawl space inspection takes 45 to 90 minutes and produces a written report. Your inspector should be measuring, not just looking.
The data points that matter are wood moisture content (anything above 18% indicates an active problem), relative humidity in the space (chronic readings above 60% guarantee mold growth), structural condition of joists, beams, and the sill plate, evidence of past or active water intrusion, mold testing where contamination is suspected, and HVAC and ductwork integrity if any equipment lives in the space.
The tools that separate a real inspection from a sales call: a calibrated moisture meter for wood readings, a hygrometer or data logger for humidity, a thermal imaging camera to find hidden water and air leaks, and borescopes for inspecting wall cavities without demolition.
If a contractor offers to “encapsulate” without measuring any of this, walk away. They’re selling plastic, not a solution.
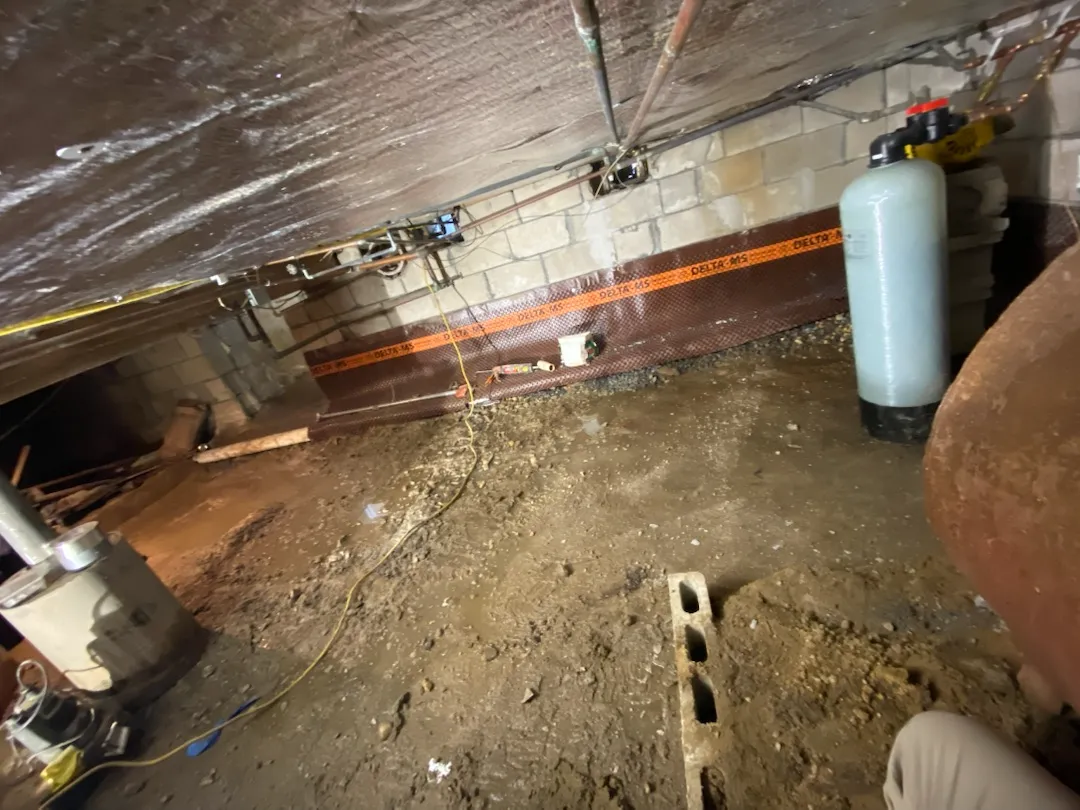
Step 2: Standing Water and Drainage Resolution
You cannot encapsulate over a water problem. Sealing a wet space without addressing the source traps water against your foundation and creates a perfect mold incubator under the new liner. The result is a sealed, expensive disaster within 12 to 18 months.
Water gets into crawl spaces through three routes: surface water (poor grading, downspout discharge, hardscape pitched toward the house), subsurface water (high water table, hydrostatic pressure pushing through foundation walls), and plumbing failures (slow leaks that have run undetected for years).
Each requires a different fix. Surface water is solved aboveground with grading corrections and downspout extensions. Subsurface water requires interior drainage — a perimeter channel cut into the floor that routes water to a sump pump, which lifts it out of the space and away from the foundation. Plumbing leaks require a plumber, not an encapsulation crew.
Get this phase right and the rest of the system will last 20-plus years. Skip it and nothing else you do will matter.
Tired of Worrying About Your Crawl Space?
Phase Two: Clean and Decontaminate
A failed encapsulation almost always traces back to a skipped or rushed inspection. You cannot seal a crawl space correctly until you know exactly what’s happening inside it, and that requires more than a flashlight check.
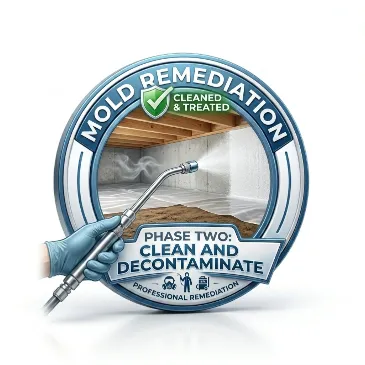
Step 3: Mold Remediation
Visible mold on framing means contamination is also airborne, settled on every surface, and embedded in any porous material in the space. Treating only what you can see is a waste of money.
Professional remediation follows IICRC S520 standards and includes containing the work area to prevent cross-contamination of living spaces, removing contaminated porous materials (old insulation, vapor barriers, debris, any cellulose with active growth), HEPA vacuuming all surfaces, applying EPA-registered antimicrobials to remaining structural surfaces, and post-remediation verification testing to confirm the space is clean before sealing.
A safety note that matters: do not attempt mold remediation yourself if the affected area exceeds about 10 square feet, if anyone in your household has asthma or compromised immunity, or if you don’t have proper PPE including a P100 respirator. Disturbed mold releases dramatically higher spore counts than undisturbed mold. DIY remediation done wrong contaminates your entire home.
Step 4: Debris and Old Material Removal
Everything that doesn’t belong in the finished system comes out: old fiberglass insulation (typically saturated and contaminated), torn vapor barriers, construction debris left from the original build, animal nesting material, and any organic material that can feed future mold growth. A clean substrate is a non-negotiable prerequisite for the liner installation in the next phase.

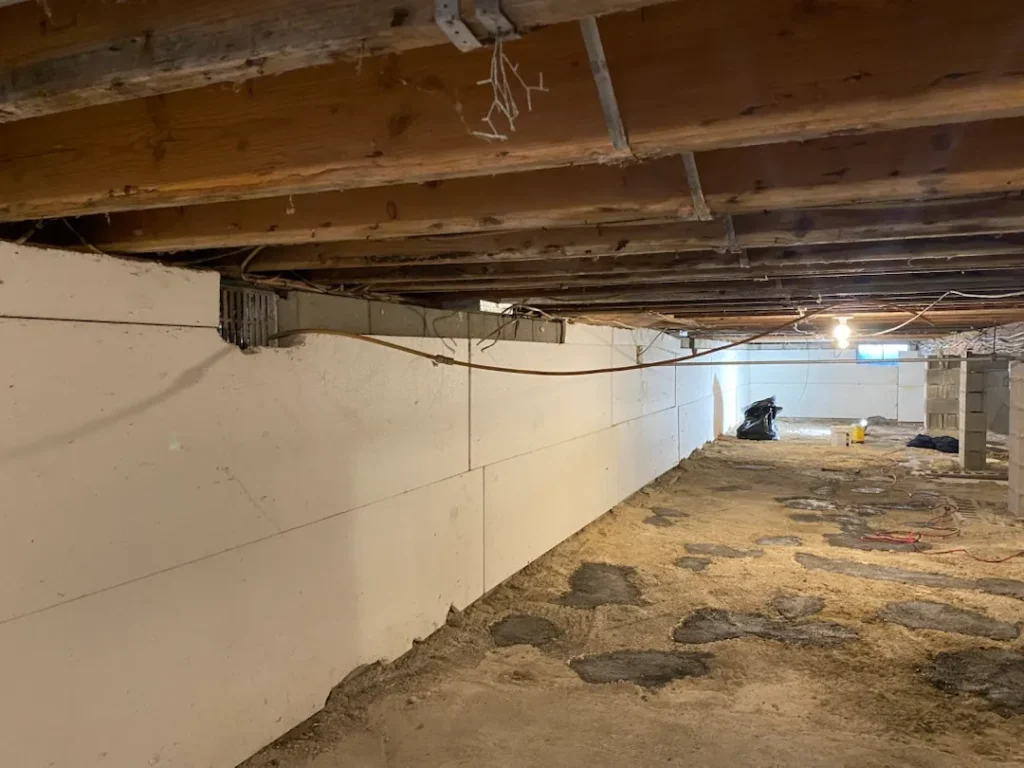
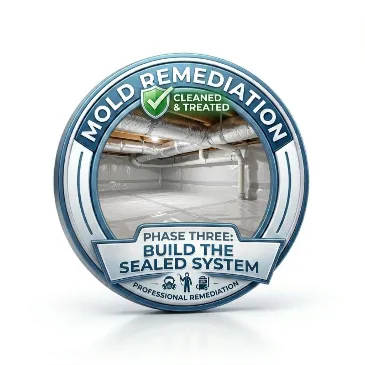
Phase Three: Build the Sealed System
This is the transformation phase, where a raw, vulnerable crawl space becomes a controlled, conditioned environment. Every step here is engineered to stop air movement, block moisture, and stabilize the space so it performs like part of the home instead of working against it. It’s also the phase most homeowners think is “the whole job,” when in reality it only works because of everything that came before it.
Step 5: Air Sealing the Envelope
Every opening between the crawl space and the outside has to be closed. Vents that were originally cut into the foundation get sealed with rigid foam board and mastic. The rim joist (the band of wood where your floor framing meets the foundation) gets spray foamed — this is one of the highest-leverage air-sealing locations in the entire house. Plumbing, electrical, and HVAC penetrations get sealed with appropriate fire-rated materials. Any access doors get weatherstripped and gasketed.
The goal is a measurable reduction in air infiltration, which you can verify with a blower door test before and after.
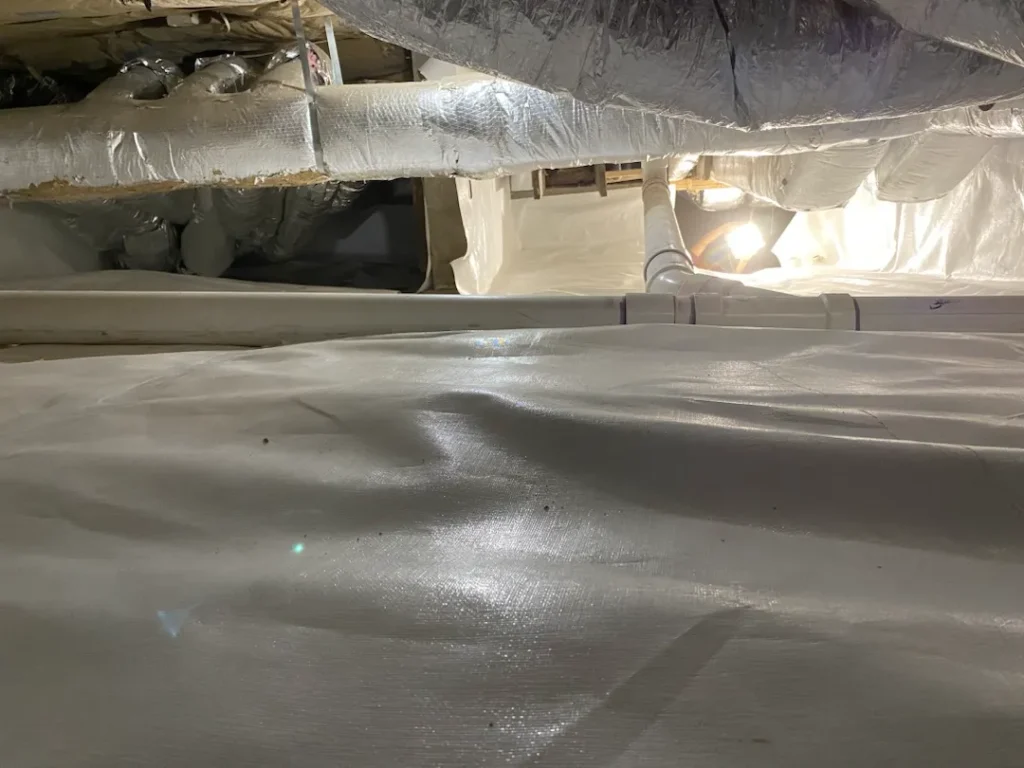
Step 6: Vapor Barrier Installation
This is where material specification matters more than most homeowners realize. The 6-mil black plastic from a hardware store is a temporary measure, not an encapsulation liner. It tears, degrades under UV exposure, and doesn’t stand up to foot traffic during inspections or service work.
A proper encapsulation liner is 12 to 20 mil reinforced polyethylene, often with antimicrobial treatment built in. Installation specifications that determine whether the system lasts:
The liner runs up the foundation walls and is mechanically fastened with termination bar, not just taped. Seams overlap by a minimum of 12 inches and are sealed with butyl tape designed for the application. The liner is sealed around every pier and column with boots or wraps. Floor sections are continuous wherever possible, and any necessary seams are double-sealed.
A correctly installed liner should look almost like a swimming pool; taut, continuous, sealed at every edge, and walkable.
Step 7: Insulation
With the air barrier and vapor barrier in place, insulation goes on the foundation walls (not the subfloor. That’s the old approach for vented crawl spaces and it creates more problems than it solves in a sealed system).
The three options, with honest tradeoffs: closed-cell spray foam at 2 to 3 inches gives you insulation, air sealing, and a secondary vapor barrier in a single application. It’s the highest-performing option and the most expensive. Rigid foam board (XPS or polyiso) is a lower-cost alternative that performs well when installed carefully, with all seams taped and edges sealed. Mineral wool batts are sometimes used in mild climates but require careful detailing to avoid moisture issues and are generally a step down in performance.
Code in most jurisdictions now requires R-15 to R-19 on crawl space walls in conditioned crawl spaces. Your specific zone determines the exact target.
Step 8: Dehumidification
Even a perfectly sealed crawl space generates some moisture from concrete curing, from the small amount of vapor that diffuses through any liner, and from any humid air that enters when the access door opens. A dedicated crawl space dehumidifier maintains the space in the target range of 45% to 55% relative humidity year-round.
Sizing matters. An undersized unit runs constantly and fails early. An oversized unit short-cycles and doesn’t dehumidify effectively. Sizing is calculated from the cubic footage of the space, the climate zone, and the expected moisture load. The unit drains via gravity or a condensate pump to either the sump system or an exterior discharge point.
Skipping the dehumidifier to save money is the single most common reason encapsulation systems fail their second summer.
Step 9: Commissioning and Verification
A real installation ends with verification, not just walkthroughs. The space gets a final blower door test to confirm air sealing performance, humidity logging over a 7- to 14-day period to confirm the dehumidifier is holding the target range, a moisture content recheck on structural wood to establish a baseline for future inspections, and a documented punch list of every component installed with model numbers and warranty registration.
You should leave this process with a written report that any future inspector can read and understand.
Complete Crawl Space Encapsulation Process: Final Thoughts
Crawl space moisture damage is one of the few home problems that gets exponentially worse over time rather than linearly. A small leak this winter is a structural repair next winter and a whole-home mold problem the winter after. The wood framing under your house is the single most expensive thing to replace in your home, and it’s sitting in the most neglected part of it.
If you’ve read this far, you already suspect something is wrong. The next step is short, free, and tells you exactly where you stand.
Schedule your professional crawl space inspection!
Is penicillium mold dangerous to live with?
Penicillium mold is common, but indoor growth can contribute to respiratory irritation and allergy-type symptoms, especially when spores remain airborne for extended periods.
What does penicillium mold usually look like in homes?
Penicillium mold often appears blue, green, gray, or white with a powdery or velvety texture, though appearance alone is not enough for accurate identification.
Can penicillium mold spread through the air?
Yes. Penicillium releases lightweight spores that easily become airborne and can circulate throughout a home via normal air movement and HVAC systems.
Where does penicillium mold usually come from?
Penicillium mold typically develops in areas with moisture, organic materials, and limited airflow, such as basements, crawl spaces, walls, insulation, and ductwork.
Is penicillium the same as aspergillus mold?
No. Penicillium and aspergillus are different mold genera, but they are often grouped together in lab results because they look similar and commonly appear together in air samples.
Can penicillium mold grow behind walls without visible signs?
Yes. Penicillium frequently grows behind drywall, under flooring, or inside wall cavities after leaks or flooding, even when surfaces appear dry.
Does cleaning visible mold remove penicillium completely?
Surface cleaning may remove visible staining, but it does not eliminate hidden growth, airborne spores, or the underlying moisture source causing the problem.
What health symptoms are commonly linked to penicillium mold exposure?
Symptoms may include nasal congestion, coughing, throat or eye irritation, headaches, fatigue, or worsening allergy and asthma symptoms in sensitive individuals.