Discovering mold in your home isn’t just a maintenance issue. It’s a health crisis waiting to happen. Every day you wait, toxic spores multiply, threatening your family’s respiratory health and your property’s structural integrity. The air you breathe could be making you sick right now.
But here’s the truth: professional mold removal doesn’t have to be overwhelming. When you understand the proven step-by-step process, you can move forward with confidence, knowing your home will be safe again. This blog will take you through each step of the mold removal process and give you some actionable mold prevention tips so that you can know what to expect on your mold removal project and prevent it from coming back after it’s gone.
Protect Your Family’s Health Today! Get a Free Mold Inspection for Your Long Island Home Now!
Step 1: Inspection, Testing, and Scope of Work
The mold removal process begins with a thorough on-site inspection. A trained technician will visually assess all affected and high-risk areas, looking for visible growth, water damage, staining, and musty odors. This is paired with moisture readings using specialized meters to identify active leaks, trapped moisture, or humidity conditions that allow mold to thrive. In some cases, infrared cameras may be used to locate hidden moisture behind walls, ceilings, or floors without invasive demolition.
Air quality testing is not always required, but it may be recommended when:
- Mold is suspected but not visible
- Occupants are experiencing unexplained health symptoms
- Documentation is needed for insurance or real estate purposes
Before any work begins, you should receive clear deliverables:
- Written inspection findings explaining what was found and why it matters
- A remediation protocol or scope of work outlining exactly what will be done
- A rough timeline for completion
- A high-level cost estimate so there are no surprises
This step ensures the remediation is targeted, appropriate, and compliant with industry standards. Not guesswork.
Step 2: Preparing Your Home and Containment Setup
Once the plan is approved, the crew prepares your home to prevent mold spores from spreading. Any furniture, personal belongings, or contents in the affected area are either removed, carefully wrapped, or protected depending on exposure risk. Floors, doorways, and adjacent spaces are covered to keep clean areas clean.
Next comes containment. The affected area is sealed off using heavy-duty plastic barriers and zipper doors, creating a controlled work zone. This isolation is critical. It prevents microscopic mold spores from traveling through your home during removal.
What this means for daily life:
- You may temporarily lose access to one or more rooms
- Containment typically stays in place for several days, depending on the severity
- Pets and children should be kept out of the work area at all times
- Normal household activity can usually continue outside the contained zone
The goal is safety and control, not disruption, and a good crew will explain exactly what to expect before starting.
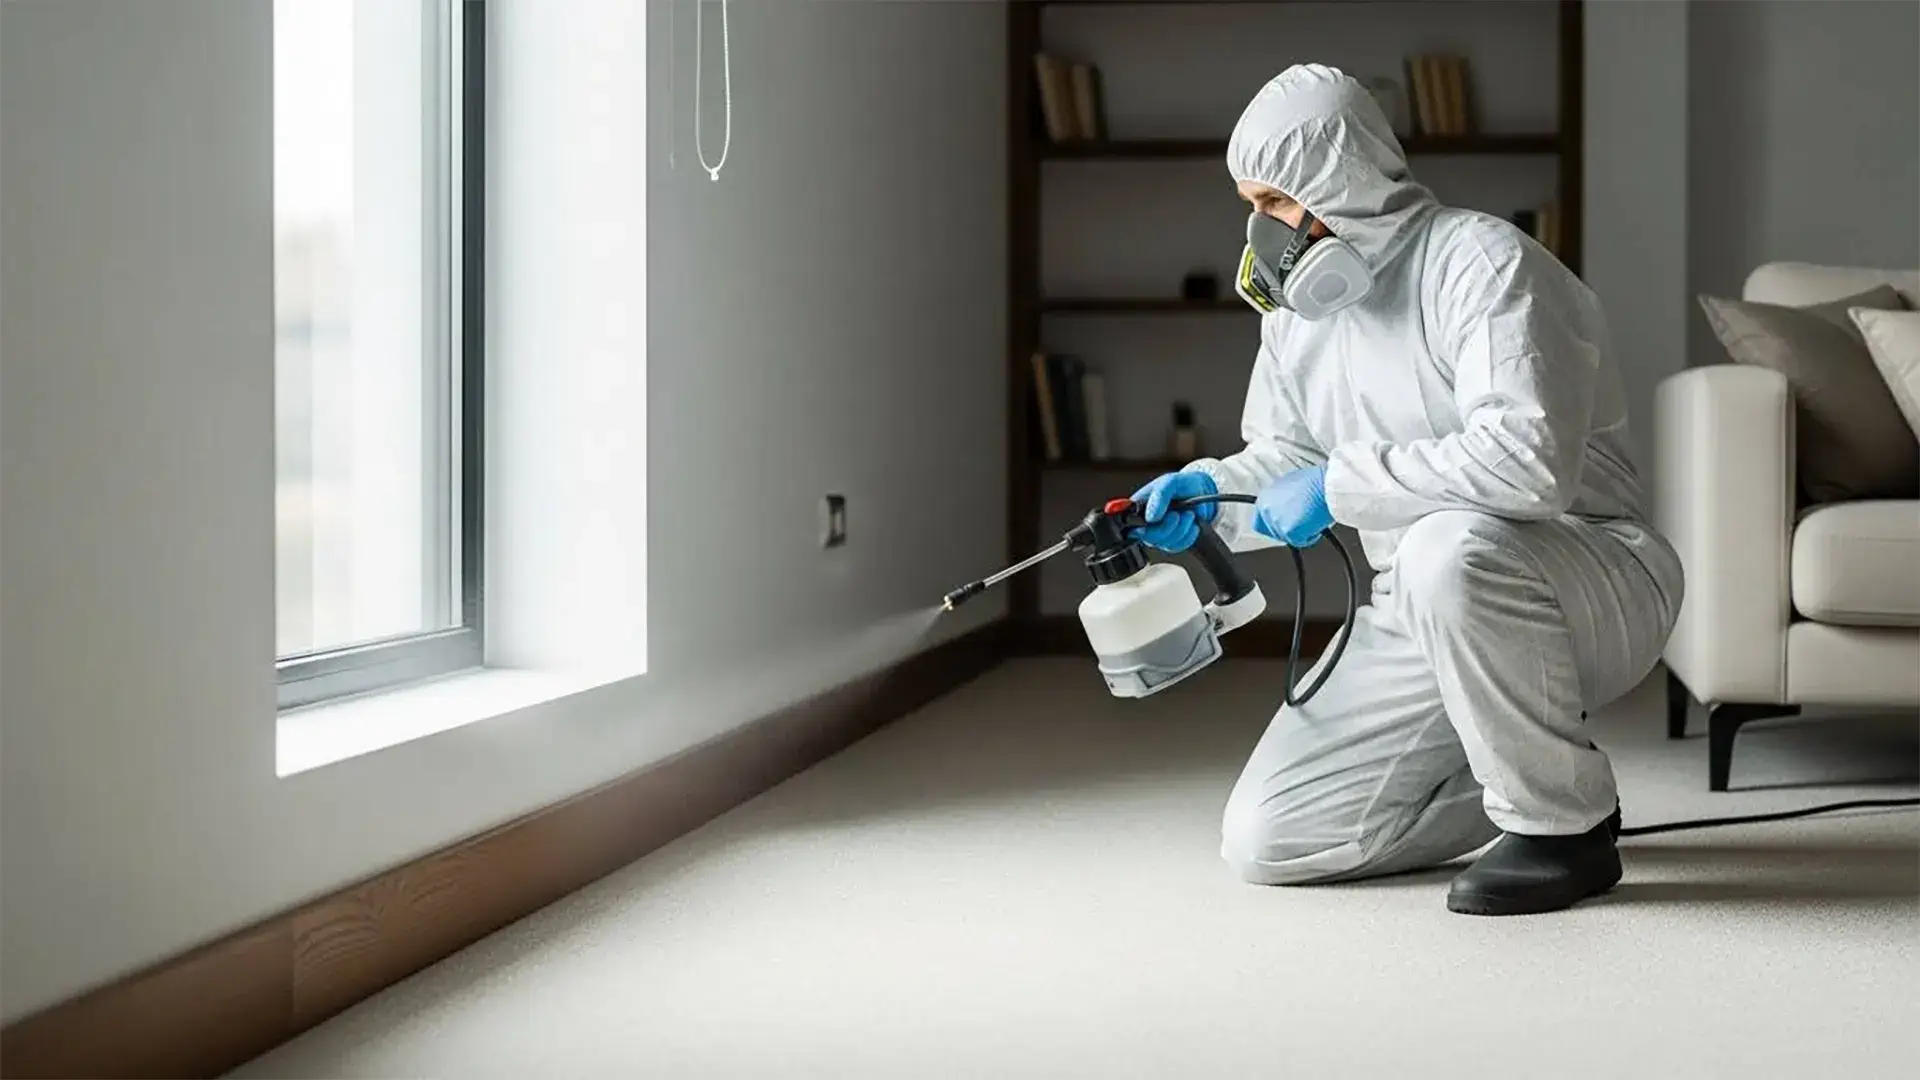
Step 3: Safety Measures, PPE, and Air Filtration
Professional mold removal is performed under strict safety protocols designed to protect both workers and occupants. Technicians will wear personal protective equipment (PPE) such as respirators, gloves, and disposable suits. This isn’t a cause for alarm. It’s standard procedure that ensures spores aren’t inhaled or carried into clean areas.
To control airborne contaminants, specialized equipment is installed:
- HEPA Air Scrubbers filter mold spores and particles from the air
- Negative Air Machines keep air flowing into the work area, not out
- Dehumidifiers remove excess humidity so mold cannot regrow
Homeowners often ask about noise. These machines do make a steady humming sound, similar to a loud fan, and they usually run continuously, including overnight. This constant operation is essential for maintaining air quality and drying conditions throughout the remediation.
While the setup may look industrial, it’s a sign the job is being done correctly and safely.
Step 4: Removing Contaminated Materials and Cleaning Surfaces
Not all materials can be saved once mold has taken hold. Professionals determine what must be removed versus what can be cleaned based on material type and contamination depth.
Typically:
- Porous materials like drywall, insulation, carpet, padding, and ceiling tiles are removed if contaminated
- Non-porous or semi-porous surfaces such as framing, concrete, metal, and some plastics can often be cleaned and restored
Cleaning is a multi-step process that may include:
- HEPA vacuuming to capture spores and debris
- Damp wiping with approved antimicrobial or mold-specific solutions
- Sanding or media blasting for heavily affected wood or structural elements
All contaminated materials are carefully bagged, sealed, and disposed of according to regulations to prevent cross-contamination. The goal isn’t just to remove what you can see. It’s to eliminate the source and leave behind a clean, stable surface ready for repair.
This step is where real remediation happens, and when done correctly, it stops mold from coming back.
Step 5: Drying, Dehumidification, and Addressing the Source
After contaminated materials are removed and surfaces are cleaned, the focus shifts to fully drying the area. Industrial air movers and commercial-grade dehumidifiers are positioned to circulate air and pull excess moisture out of framing, concrete, and surrounding materials. Technicians take ongoing moisture readings throughout the process to confirm that levels are returning to normal, not just surface-dry, but dry at depth.
Drying continues until moisture measurements meet acceptable standards for the material and environment. This step is not rushed. Incomplete drying is one of the most common reasons mold returns after remediation.
Just as important is correcting the underlying moisture source. This may include repairing plumbing leaks, improving drainage, sealing foundation penetrations, or addressing ventilation and humidity issues. Mold remediation without moisture control is temporary. Professional crews make sure the conditions that allow mold to grow are resolved before the project is considered complete.
Step 6: Post-Remediation Inspection and Optional Testing
Once drying is complete, a post-remediation inspection is performed. This final walkthrough includes visual checks, touch inspections, and odor evaluation to confirm that all visible growth, residue, and staining-like discoloration has been properly addressed—even on surfaces that remain structurally sound.
Some homeowners choose post-remediation verification (PRV) or clearance testing, especially when:
- Health concerns prompted the project
- Insurance documentation is required
- The affected area was large or widespread
- The home is being sold or rented
Clearance testing is often conducted by an independent third party, not the remediation company. A “pass” typically means airborne spore levels are comparable to outdoor baseline levels and no active contamination remains. While optional, PRV provides peace of mind and documented confirmation that the remediation was successful.
Step 7: Rebuild, Restoration, and Putting Rooms Back Together
After clearance, the focus turns to restoration. This phase returns the space to its original condition or better. Common rebuild tasks include:
- Replacing drywall and insulation
- Installing new trim or baseboards
- Repairing or replacing flooring
- Repainting walls and ceilings
Some mold remediation companies handle both remediation and restoration, while others coordinate with or recommend a separate contractor. Either approach is normal, as long as scopes are clearly defined.
Homeowners should expect some dust and noise during this phase, similar to standard renovation work. Timelines vary based on the extent of demolition, but most rooms become usable again shortly after rebuild completion. Your contractor should clearly communicate when it’s safe to fully reoccupy each area.
What Homeowners Should Expect Day-to-Day
Project timelines depend on size and severity:
- Small bathroom or closet: 2-4 days
- Mid-size room: 4-7 days
- Whole basement or multiple areas: 1-2+ weeks
Typical phases include inspection, containment setup, removal, drying, inspection/testing, and rebuild. Day-to-day impacts may include:
- Crew vehicles needing nearby parking
- Equipment noise from air scrubbers and dehumidifiers
- Temporary changes in indoor temperature or humidity
- Daily progress updates or moisture checks
Clear communication is key. You should know who your point of contact is, what’s happening each day, and what to expect next.
DIY vs Professional Mold Removal: Where to Draw the Line
DIY mold cleanup may be appropriate for small, isolated areas, typically less than 10 square feet, where there is no structural damage, no strong odor, and no underlying moisture issue.
Professional remediation is strongly recommended when:
- Mold covers larger areas or multiple rooms
- Drywall, insulation, or framing is affected
- Musty odors persist despite cleaning
- HVAC systems may be contaminated
- Occupants include infants, elderly individuals, or immunocompromised persons
In these cases, containment, filtration, and proper disposal are critical. Professional intervention protects both health and the integrity of the home.
Costs, Insurance, and Documentation (High-Level)
Mold remediation costs vary based on:
- Size of the affected area
- Location (attic, basement, crawl space, living area)
- Amount of material removal required
- Specialized methods or equipment needed
Insurance coverage depends on how the mold developed, not simply that it exists. Sudden, accidental water events may be considered, while long-term leaks or deferred maintenance are often excluded.
Regardless of coverage, documentation matters. Homeowners should retain:
- Photos and videos of damage
- Inspection and moisture reports
- Written scopes of work
- Itemized invoices separating cause-of-loss repairs from mold cleanup
These records help with claims, future disclosures, and resale.
How to Choose a Mold Remediation Company
Look for a company that demonstrates:
- Proper training or certification
- Written inspection reports and scopes
- Use of containment and HEPA filtration
- Clear explanations of process and options
- Transparency about testing and verification
Red flags include:
- No containment setup
- No discussion of moisture source repair
- Vague or verbal scopes only
- Pressure tactics or fear-based sales language
A good contractor educates, documents, and gives you time to make informed decisions.
Long-Term Prevention Tips After Remediation
After remediation, prevention is about moisture control and vigilance:
- Keep indoor humidity below 50%
- Fix leaks promptly-within 24 hours
- Maintain gutters and proper grading
- Use exhaust fans in bathrooms and kitchens
- Ensure basements and crawl spaces are properly ventilated
Mold Removal Process: Final Thoughts
We hope this blog on the mold removal process helps you out knowing what to do and when to do it if your home ever gets mold in it. When you understand each step of the mold removal process from inspection and testing to containment, cleanup, and prevention you can spot red flags, ask better questions, and choose a contractor you actually trust if you ever need to.
If you believe your home may have a mold problem, the most important thing you can do right now is take action. Mold can cause symptoms and destroy surfaces in your home faster than you think, and it’s not worth risking either. If you live in Long Island, Brooklyn, Queens, or The Bronx, you can contact us for a free mold inspection any time, and we’ll be glad to meet up with you and give you a free inspection and expert opinion.
Schedule Your Free Mold Inspection Now!
Frequently Asked Questions About the Mold Removal Process
How long does the mold removal process take?
Most mold remediation projects take 2 to 7 days, depending on the size of the affected area, the materials involved, and how long drying takes. Small, contained areas may be resolved in a few days, while basements or multi-room projects can take one to two weeks or longer.
Can I stay in my home during mold remediation?
In many cases, yes. Containment barriers and air filtration allow the rest of the home to remain safe and usable. However, if mold is widespread, affects HVAC systems, or involves strong odors, temporary relocation may be recommended, especially for children, elderly occupants, or those with respiratory conditions.
Will mold spread to other areas during removal?
When done correctly, no. Professional remediation uses containment, negative air pressure, and HEPA filtration to prevent spores from spreading. Mold spread typically occurs when removal is attempted without proper controls or when contaminated materials are disturbed without containment.
Do all moldy materials need to be removed?
Not always. Porous materials like drywall, insulation, and carpet often must be removed if contaminated, while non-porous surfaces such as framing, concrete, and metal can usually be cleaned and treated. Decisions are based on material type, contamination depth, and industry guidelines.
Is mold testing required before or after remediation?
Testing is not always required. Many projects proceed based on visible growth and moisture findings alone. Post-remediation verification (clearance testing) may be recommended for larger projects, health-related concerns, insurance documentation, or peace of mind.
What does “clearance testing” or PRV mean?
Post-remediation verification (PRV) confirms that remediation was successful. It typically involves a visual inspection and air sampling conducted by an independent party. A “pass” means no active mold remains and airborne spore levels are comparable to normal outdoor conditions.
How loud is the equipment during mold removal?
Air scrubbers, dehumidifiers, and air movers produce steady noise similar to loud fans. These machines often run 24/7 to control air quality and moisture. While noticeable, the noise is temporary and essential to doing the job correctly.
Will the mold come back after remediation?
Mold should not return if the underlying moisture problem is fixed and humidity is kept under control. Recurrence usually happens when leaks, drainage issues, or ventilation problems remain unresolved. Professional remediation always includes addressing the moisture source.
Does mold remediation remove stains and odors?
Yes. Proper remediation addresses visible growth, staining, and musty odors—not just structural damage. Some staining may remain on materials that are structurally sound, but odor and active contamination should be eliminated by the end of the process.
How much does mold remediation usually cost?
Costs vary based on the size of the affected area, location in the home, materials involved, and level of containment required. Small projects may cost a few thousand dollars, while large or complex cases can be significantly higher. A written inspection and scope provide the most accurate estimate.
Will insurance cover mold removal?
Insurance coverage depends on how the mold developed, not just that it exists. Sudden, accidental water events may be covered, while long-term leaks or maintenance issues are often excluded. Documentation, photos, reports, and invoices play a key role in any claim.
Can I clean mold myself with bleach or store-bought products?
DIY cleanup may be appropriate for very small, surface-level areas. Bleach does not effectively penetrate porous materials and can worsen moisture conditions. Professional remediation is recommended for larger areas, hidden mold, recurring growth, or when health symptoms are present.
What should I do before the remediation crew arrives?
Your contractor will provide instructions, but common steps include clearing personal items from affected areas, securing pets, and planning limited access to contained spaces. Most preparation is handled by the remediation team.
How do I know the job was done correctly?
A proper job includes containment, documented removal, moisture correction, and final inspection. Optional clearance testing provides additional confirmation. Reputable contractors explain each step and provide written documentation.